A wall shelf is a fair first project. The cuts are straight. The joinery is screws into a board and into studs. You can finish it in an afternoon and put books on it the same day. It will not teach you dovetails. It will teach you to measure, cut square, and hit a stud.
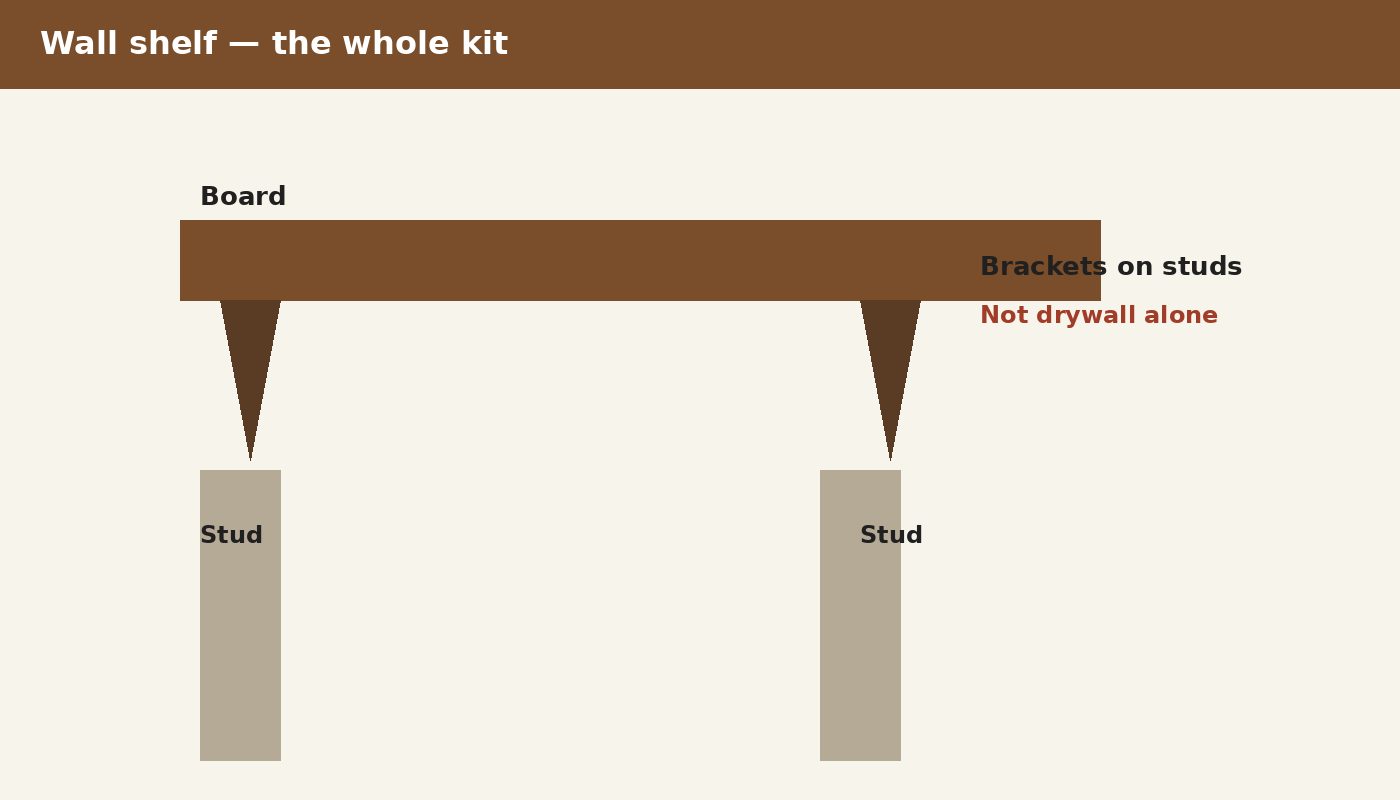
One board, about three-quarters of an inch thick and eight to ten inches deep, cut to the length you want. Two or three brackets under it. Screws into wall studs, not into drywall alone. That is the whole object. A fancy floating shelf with hidden hardware is a later project. This one shows its brackets on purpose so the load has somewhere to go.
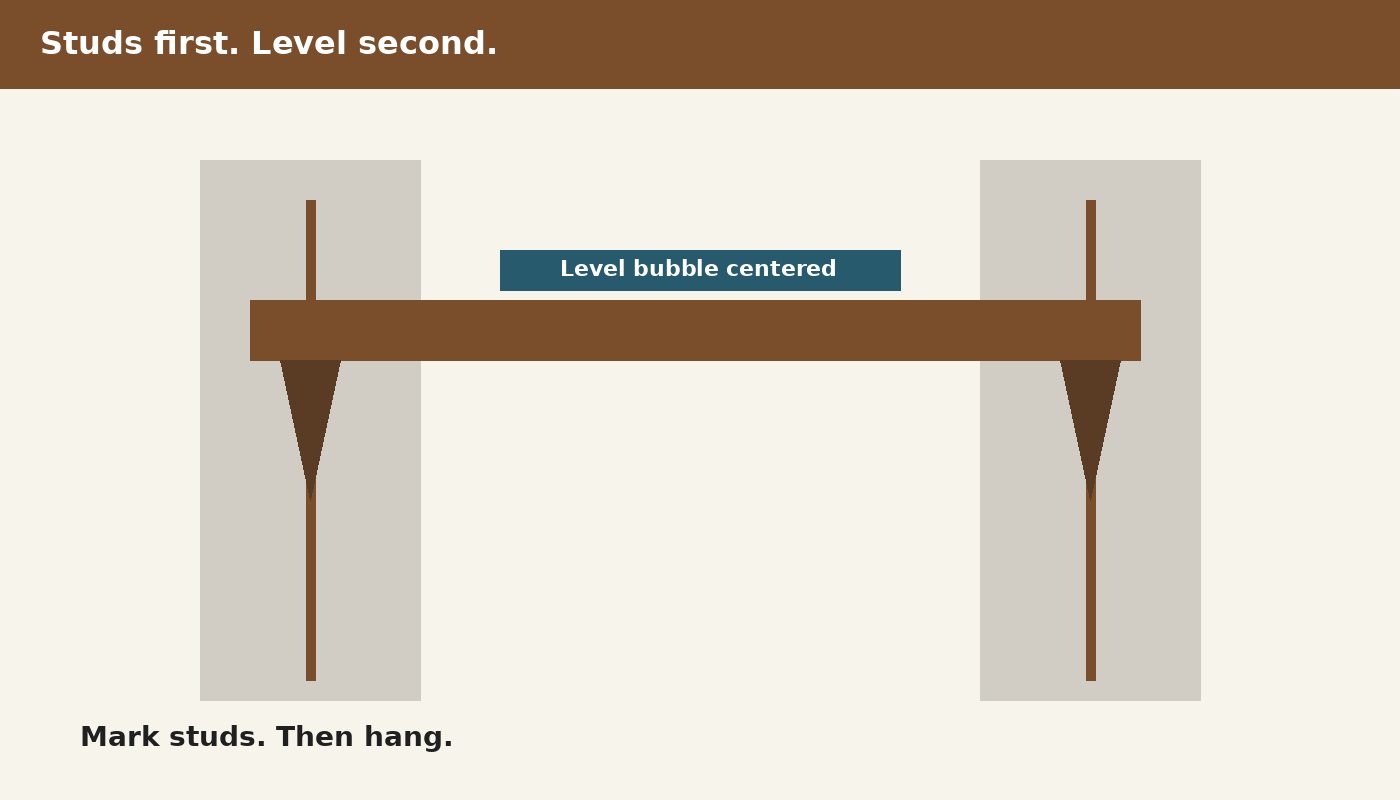
A shelf that only bites drywall will pull out the first time you load it. Use a stud finder, or knock and confirm with a small pilot hole you can fill. Mark both studs. The brackets should land on those marks, not on a pretty even spacing that misses the framing.
If the studs are sixteen inches apart and you want a longer shelf, add a third bracket on the middle stud. Two brackets on a four-foot shelf of books is how shelves sag.
Measure the board twice. Cut once with a circular saw and a straight guide, or have the store cut it if you do not own a saw yet. Sand the cut end. Hold the board where you want it, check level, mark the bracket holes, drill pilots so the board does not split, then drive the screws.
Level is not optional. A shelf that runs downhill looks wrong from across the room and slides objects to one end. A cheap torpedo level is enough.
A light row of books, a small plant, a speaker. Not a stack of cast-iron pans. Not a television. Bracket rating and screw length into the stud set the limit. If the bracket says twenty-five pounds, believe it.
Buy the board the day you build. Sight down the edge in the aisle and reject the bowed one. A straight eight-foot pine 1x8 or 1x10 is enough. If the store will cut it to length, that is a fair shortcut on day one. You still hang it yourself.
Brackets from the hardware aisle are fine. Match the screw length to the stud: long enough to bite an inch into the framing after the drywall. Short screws are how a shelf lets go at night. Put the heavier objects over a bracket, not in the open span between them.
When the shelf is up, load it lightly for a day. If a bracket creaks or a screw spins, you missed the stud. Move the bracket. Do not add more weight and hope.
Skip this if you need a hidden floating shelf, a cabinet, or anything that carries real weight. Skip it if you cannot find studs and plan to use plastic anchors for a loaded board. Anchors are for a picture frame.
The tools for this cut and the screws are here:
Circular saw and drill starter kit
A first shop surface, if the floor is the current bench:
2x4 workbench as a first shop surface
If the next build is outside, a raised bed frame is the same straight-cut job in the yard:
Ted's Woodworking is a downloadable plan library on ClickBank, about sixty-seven dollars once. It is plans, not lumber, not a kit, and not a class. Useful if you want a cut list instead of inventing the next project from a video. Parts still cost extra.
Ted's Woodworking — downloadable plan library
This page uses an affiliate link. If you buy, we may earn a commission.
Can I use any board?
Pine from the home store is fine for a first shelf. Avoid bowed stock. Sight down the edge before you buy.
What do you get with Ted's Woodworking?
A digital plan library sold through ClickBank — not boards and not brackets.
Ted's Woodworking — downloadable plan library
This page uses an affiliate link. If you buy, we may earn a commission.